An engine splash shield, also called an engine under cover, lower engine cover, or skid shield on some vehicles, helps protect the underside of your engine compartment from water, dirt, road debris, salt, and other contaminants.
Over time, the shield can crack, become loose, lose its fasteners, or get damaged after hitting road debris. Fortunately, replacing an engine splash shield is often a manageable DIY job if you have the correct replacement part and a few basic tools.
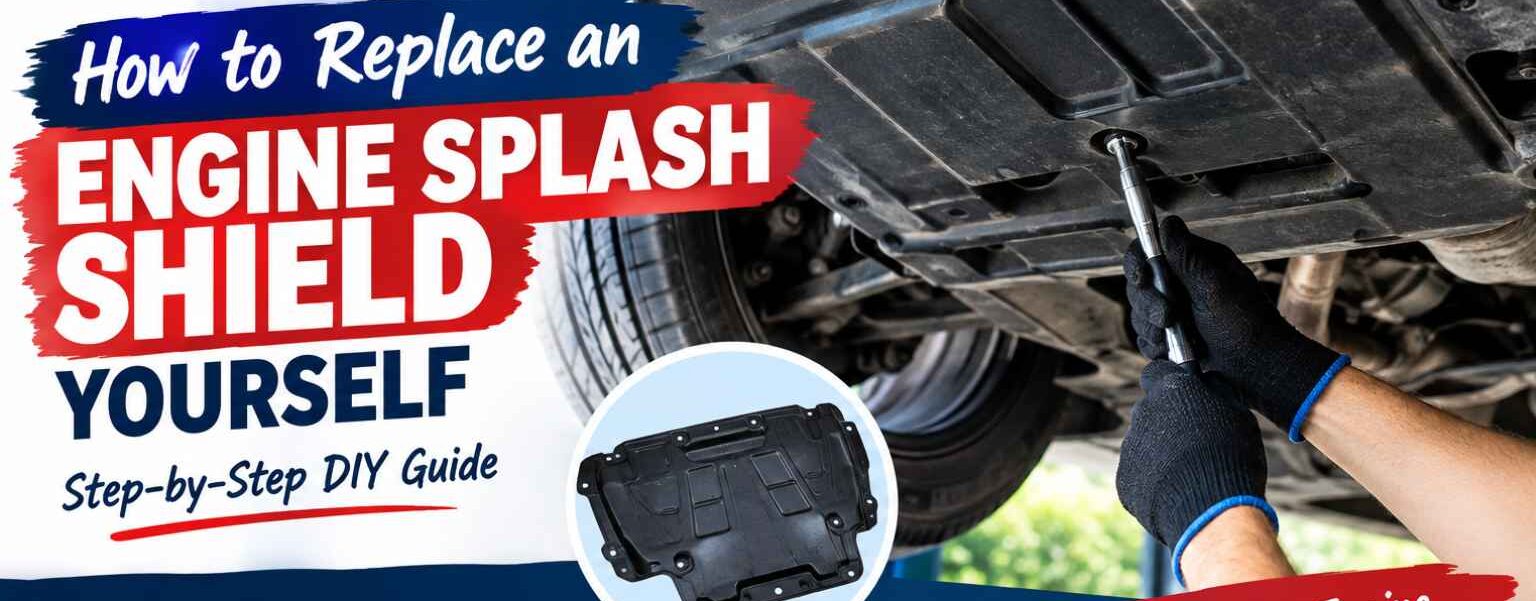
This guide explains how to replace an engine splash shield yourself, what tools you need, how to remove the old shield, how to install the replacement, and what to check before driving.
Important: The exact installation process varies by vehicle. Always verify that the replacement splash shield matches your vehicle’s year, make, model, engine, and position before installation.
What Is an Engine Splash Shield?
An engine splash shield is a protective panel mounted underneath the front or lower portion of a vehicle.
Depending on the vehicle, it may be made from plastic, composite material, fiberglass-reinforced plastic, or metal. Some vehicles use several smaller underbody panels instead of one large shield.
The shield helps reduce exposure of components in the engine compartment to:
- Water and road spray
- Mud and dirt
- Gravel and road debris
- Snow and ice
- Road salt
- Oil and other contaminants
- Objects that may be kicked up from the road
It can also help improve airflow underneath the vehicle and reduce aerodynamic turbulence.
Internal Link: Browse Engine Splash Shield Collections
Signs That Your Engine Splash Shield Needs Replacement
Not every damaged splash shield needs to be replaced immediately, but driving with a severely damaged or loose shield can create additional problems.
Look for these common signs:
The Shield Is Dragging on the Ground
A loose panel may hang down and scrape against the road, especially when driving over bumps or uneven surfaces.
If you hear plastic scraping underneath your vehicle, inspect the lower engine area as soon as it is safe to do so.
You Hear Flapping or Rattling
A missing fastener or cracked mounting point can allow the shield to move while driving.
A rattling or flapping noise from underneath the front of the vehicle is a common warning sign.
The Shield Is Cracked or Broken
Impact from road debris, curbs, or other objects can crack the panel.
Small cracks around mounting holes can eventually become larger and cause the shield to separate from the vehicle.
Fasteners Are Missing
Sometimes the panel itself is still in good condition, but several clips, bolts, or screws are missing.
If the shield is otherwise undamaged, replacing the correct fasteners may solve the problem.
Part of the Shield Is Missing
If a large section has broken away, replacement is generally a better solution than trying to repair it.
Can You Replace an Engine Splash Shield Yourself?
In many vehicles, yes.
Engine splash shield replacement is generally considered a relatively straightforward maintenance or repair task because the panel is normally accessible from underneath the front of the vehicle.
However, difficulty varies considerably between vehicles.
Some shields can be removed with only a few bolts and clips, while others may require removing multiple underbody panels, wheel-well components, or other parts.
Before starting, check the vehicle-specific installation requirements.
Internal Link: Browse Engine Splash Shield Collections
Tools You May Need
The exact tools depend on your vehicle, but a typical replacement may require:
- Ratchet
- Socket set
- Screwdrivers
- Trim or panel removal tool
- Pliers
- Flashlight or work light
- Replacement clips or fasteners
- Work gloves
- Safety glasses
You may also need:
- Jack and jack stands or a vehicle lift
- Wheel chocks
- Penetrating lubricant for rusty fasteners
Do not assume every fastener is the same. Some vehicles use a combination of bolts, screws, plastic push clips, and other retainers.
Safety First: Never Work Under an Unsupported Vehicle
If you need to raise the vehicle to access the splash shield, safety should be your first priority.
Park on a flat, solid surface, engage the parking brake, and place the transmission in Park for an automatic vehicle or in gear for a manual transmission.
If the vehicle must be lifted, use properly rated jack stands and follow the vehicle manufacturer’s recommended lifting points.
Never rely on a hydraulic jack alone to support a vehicle while you are working underneath it.
If the vehicle can be accessed safely without lifting it, you may not need to raise it at all.
Step 1: Confirm You Have the Correct Replacement Splash Shield
Before removing anything, compare the replacement part with the original.
Check:
- Vehicle year
- Make
- Model
- Engine
- Trim or configuration when applicable
- Front or rear position
- Left/right position if applicable
- Mounting-hole locations
- Overall shape
- Fastener locations
A splash shield can look very similar to another application while having different mounting points.
If the part does not line up with the original mounting locations, do not force it into place. Recheck the application information.
Step 2: Inspect the Existing Shield
Before removing the old panel, take a quick look at how it is installed.
Notice:
- Where the bolts are located
- Where plastic clips are installed
- Which sections overlap other panels
- How the shield fits around the bumper or wheel wells
- Whether wiring or other components are routed nearby
Taking a few photos with your phone can also help you remember the original arrangement.
Step 3: Remove the Fasteners
Start removing the bolts, screws, and clips that hold the splash shield in place.
If there are plastic push clips, use a suitable trim-removal tool rather than aggressively prying them with a screwdriver.
For bolts or screws that are difficult to remove, apply an appropriate penetrating lubricant and allow it to work before trying again.
Keep the Fasteners Organized
Don’t throw all the fasteners into one pile if they are different sizes.
Keep them organized or place them in separate containers. Some vehicles use different fastener lengths in different locations.
Step 4: Support the Splash Shield Before Removing the Last Fasteners
Once most of the fasteners are removed, support the panel with one hand while removing the remaining fasteners.
This is particularly important with larger shields.
A damaged panel can suddenly drop once the final fastener is removed.
If the shield is already partially detached, be careful when moving it because broken edges can be sharp.
Step 5: Remove the Old Splash Shield
With the fasteners removed, carefully lower the old panel.
Do not force it.
If it does not come out easily, check for:
- A missed fastener
- A hidden clip
- An overlapping panel
- A bracket
- A section tucked behind another component
Forcing the panel can damage surrounding components or mounting points.
Step 6: Inspect the Mounting Area
This is an important step that is easy to skip.
Before installing the replacement, inspect the mounting points.
Look for:
- Broken mounting tabs
- Missing clips
- Bent brackets
- Rust
- Damaged bolt holes
- Loose components
- Wiring hanging near the installation area
If a mounting point on the vehicle itself is broken, installing a new shield may not solve the problem until that mounting point is repaired.
Step 7: Compare the New and Old Panels Again
Place the old and replacement panels next to each other if possible.
Compare the:
- Shape
- Mounting holes
- Clips
- Edges
- Curves
- Cutouts
- Brackets or reinforcement points
This is your last easy opportunity to identify a wrong or incomplete part before installation.
Step 8: Install the New Engine Splash Shield
Position the replacement shield underneath the vehicle.
Start by loosely installing a few of the center or primary fasteners.
Do not fully tighten everything immediately.
Leaving the fasteners slightly loose allows you to adjust the panel and align all of the mounting holes.
Once the shield is properly positioned, install the remaining fasteners.
Step 9: Tighten the Fasteners
After every mounting point is aligned, tighten the fasteners.
If the vehicle manufacturer specifies torque values, follow those specifications.
Avoid overtightening plastic components.
Too much force can crack the plastic, strip a mounting point, or damage a clip.
For plastic push clips, make sure they are seated correctly rather than forcing them excessively.
Step 10: Check the Installation
Before lowering the vehicle or taking it for a drive, inspect the entire panel.
Make sure:
- All required fasteners are installed
- The shield is firmly attached
- No part is hanging down
- The panel does not contact the tires
- The panel does not interfere with steering
- No wiring is trapped underneath it
- The shield does not touch exhaust components
- Adjacent panels are properly aligned
Turn the steering wheel from side to side if appropriate and verify that nothing interferes with the tires.
Step 11: Take a Short Test Drive
After installation, take a short drive at low speed.
Listen for:
- Scraping
- Rattling
- Flapping
- Vibrations
- Unusual noises
If you hear something unusual, stop and inspect the installation.
Do not continue driving if the new shield is loose or making contact with the road.
How Long Does Engine Splash Shield Replacement Take?
For a relatively accessible vehicle, replacing an engine splash shield may take around 30 minutes to 1 hour for someone familiar with basic vehicle maintenance.
However, some vehicles can take considerably longer.
Rusty fasteners, broken clips, difficult access, multiple underbody panels, or a complicated shield design can increase installation time.
If this is your first time doing the job, allow extra time rather than rushing.
How Much Does It Cost to Replace an Engine Splash Shield?
The total cost depends on the vehicle, replacement part, fasteners, and whether you install it yourself or pay a professional.
A DIY replacement can reduce labor costs because you are doing the installation yourself.
Your total DIY expense may include:
- Replacement splash shield
- New clips or fasteners
- Tools you do not already own
Professional installation adds labor charges.
Because parts and labor vary significantly between vehicles, it is better to check the exact replacement part for your vehicle rather than relying on a generic cost estimate.
Internal Link: Browse Engine Splash Shield Collections
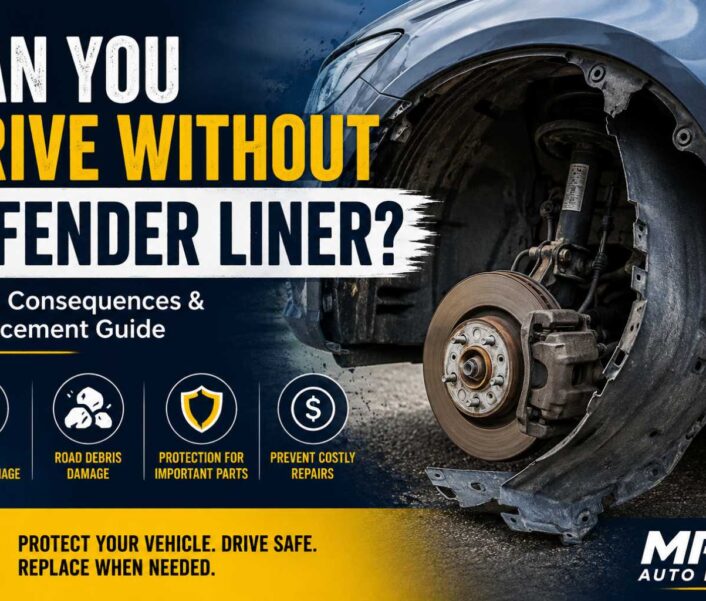
Can You Drive Without an Engine Splash Shield?
You may be able to drive temporarily without one, but that does not mean you should ignore the problem.
The splash shield helps protect components from water, dirt, debris, and road contaminants.
Driving without it can increase exposure to those elements, particularly in wet, muddy, snowy, or debris-covered conditions.
If your splash shield has fallen off or is dragging on the ground, inspect the vehicle and replace or properly secure it before normal driving.
Should You Repair or Replace a Damaged Splash Shield?
It depends on the damage.
A missing fastener or small mounting issue may be repairable.
However, replacement is usually more practical when the shield is:
- Severely cracked
- Missing a large section
- Torn around multiple mounting holes
- Warped
- Broken into several pieces
- Unable to remain securely attached
A properly fitted replacement shield is generally preferable to driving with a loose or badly damaged panel.
Common Mistakes to Avoid
Installing the Wrong Part
The most common mistake is assuming that a similar-looking splash shield will fit.
Always verify vehicle compatibility.
Reusing Broken Clips
Old plastic clips can become brittle with age. If a clip is damaged or no longer holds securely, replace it.
Tightening Everything Too Early
Installing and fully tightening one section before aligning the rest can make the remaining holes difficult to line up.
Install the fasteners loosely first, align the panel, then tighten everything.
Overtightening Fasteners
More force does not mean a better installation.
Overtightening can damage plastic mounting points.
Ignoring Broken Mounting Points
If the vehicle’s mounting tabs or brackets are damaged, a new splash shield may still move or sag.
Repair the underlying mounting problem first.
Forgetting to Check Tire Clearance
A badly positioned underbody panel can potentially interfere with the tire or steering components.
Always check clearance before driving.
Tips for Choosing a Replacement Engine Splash Shield
When purchasing a replacement, don’t choose based solely on appearance.
Look for:
Correct vehicle fitment: The part should be designed for your exact vehicle application.
Correct mounting locations: The holes and attachment points should correspond with the original panel.
Appropriate material: The replacement should be durable enough for its location and intended use.
Complete application information: A clear fitment description makes it easier to determine whether the part is appropriate for your vehicle.
Required hardware: Check whether clips, screws, or other hardware are included or need to be purchased separately.
If you are unsure about compatibility, compare the part number and vehicle fitment information before ordering.
Internal Link: Browse Engine Splash Shield Collections
Final Thoughts
Replacing an engine splash shield yourself is often one of the more approachable underbody repairs for a DIY vehicle owner.
The actual installation may be simple, but choosing the correct replacement part is just as important as installing it correctly.
Take your time, use the proper lifting and safety equipment when necessary, keep track of the fasteners, and verify that the finished installation is secure and clear of tires, steering components, wiring, and hot exhaust parts.
A properly installed engine splash shield can help protect the underside of your engine compartment from everyday road exposure and keep the lower part of your vehicle properly covered.
Frequently Asked Questions
What is an engine splash shield?
An engine splash shield is a panel mounted underneath a vehicle that helps protect the engine compartment and related components from water, dirt, road debris, salt, and other contaminants.
Can I replace an engine splash shield myself?
Yes, many engine splash shields can be replaced as a DIY project using basic hand tools. However, the difficulty varies by vehicle.
What tools do I need to replace an engine splash shield?
Common tools include a ratchet, socket set, screwdrivers, trim-removal tools, pliers, and a flashlight. Some vehicles may require additional tools.
Do I need to jack up my car to replace the splash shield?
Not always. Some vehicles provide enough access without lifting the vehicle. If you must work underneath a raised vehicle, use properly rated jack stands and the manufacturer’s recommended lifting points.
How long does it take to replace an engine splash shield?
A straightforward replacement may take about 30 minutes to an hour, but the actual time varies depending on vehicle design, access, rust, and the condition of the fasteners.
Can I drive without an engine splash shield?
You may be able to drive temporarily, but operating without the shield leaves components underneath the vehicle more exposed to water, dirt, debris, and road contaminants. A damaged or missing shield should be addressed rather than ignored.
Can a cracked engine splash shield be repaired?
Minor damage may sometimes be repairable, particularly if only a fastener or small mounting point is affected. A severely cracked, missing, or structurally damaged shield is generally better replaced.
Why is my new splash shield not lining up?
The replacement may be the wrong application, or a mounting point on the vehicle may be damaged. Do not force the panel into position. Compare the replacement with the original and verify the vehicle fitment.
Should I replace the clips when replacing a splash shield?
If the original clips are broken, missing, loose, or brittle, replacing them is a good idea. A new shield cannot stay secure if its mounting hardware is damaged.
Does an engine splash shield improve fuel economy?
A properly designed underbody panel can contribute to smoother airflow underneath a vehicle, but you should not expect a dramatic fuel-economy improvement simply from replacing a damaged splash shield.
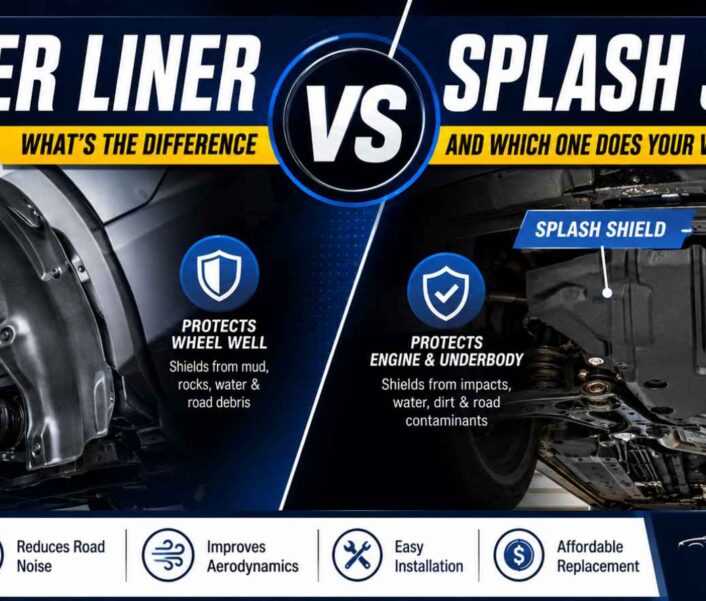
Is an engine splash shield the same as a skid plate?
Not necessarily. The terms are sometimes used interchangeably, but they can refer to different components. A splash shield is primarily intended to protect against water, dirt, and road debris, while a heavy-duty skid plate is generally designed for greater impact protection.
What should I do if my splash shield keeps coming loose?
Check whether the correct fasteners are installed and inspect the vehicle’s mounting points for cracks, broken tabs, or damaged brackets. If the mounting structure is damaged, replacing the panel alone may not fix the problem.